
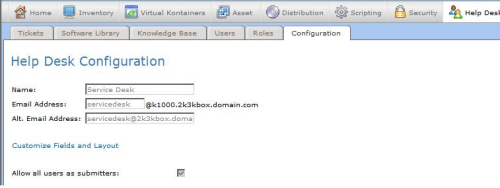
To setup your KBOX to work with Exchange 2003, first start by selecting Help Desk>Configuration and select the Queues option to view the queues you need to configure. Then select the queue you wish to modify. Follow these steps to configure this section of the page.
- At the top left corner, select Edit Mode.
- Enter the email address prefix you wish this help desk to have in the Email Address box.
- In the Alt. Email Address box, enter the full email address of the account you want the KBOX to send responding emails to or emails notifying your ticket owners that a ticket has been updated. It is advised that the prefix for the alternate email address matches that of the prefix for the email address setting.
- Save settings.
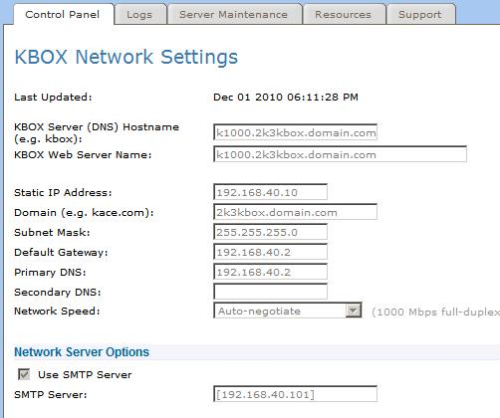
Then navigate to Settings>Network Settings and select Edit Mode. Check the box for Use SMTP Server. In the SMTP server box, enter the IP address of the 2003 Exchange server using this format [xxx.xxx.xxx.xxx] (square brackets are required). Then save the changes and allow the KBOX to reboot.
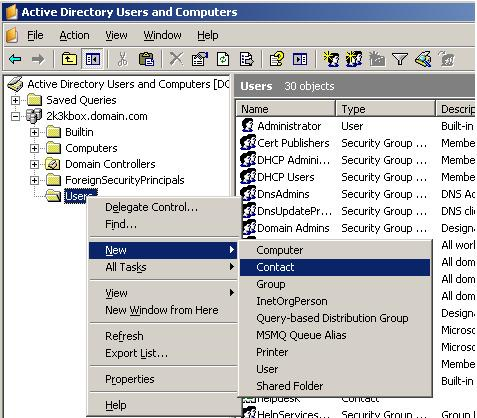
Next, create an email contact in your AD for the KBOX and use the KBOX email address used for the Help Desk. To do this, follow these steps:
- Right click the Users container (or other preferred container) and select New>Contact.
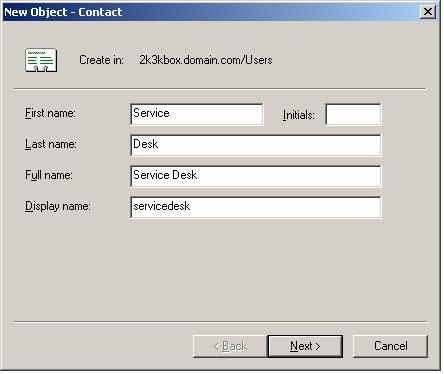
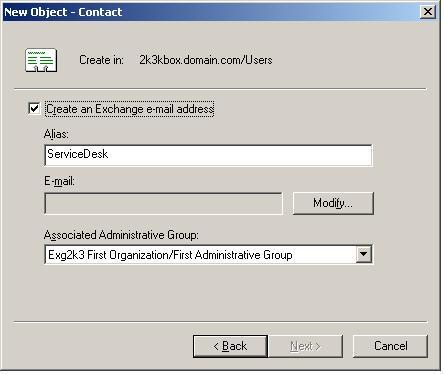
- On the New Object - Contact page, provide the name you would like the contact to have and click Next.
- On the following page, click the Modify button for E-mail.
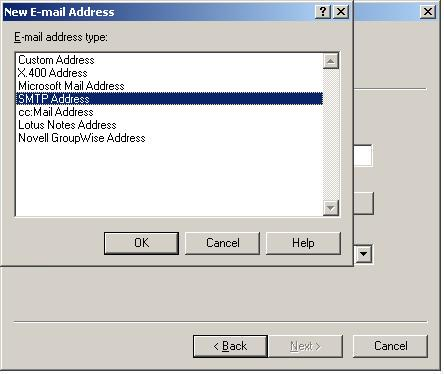
- On the New E-mail Address window that pops up, select SMTP Address and click OK.
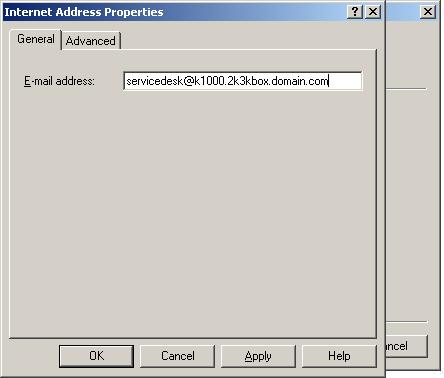
- A Internet Address Properties window will open. Input the email address listed for the desired Help Desk and click OK. (example: servicedesk@kbox.domain.com)
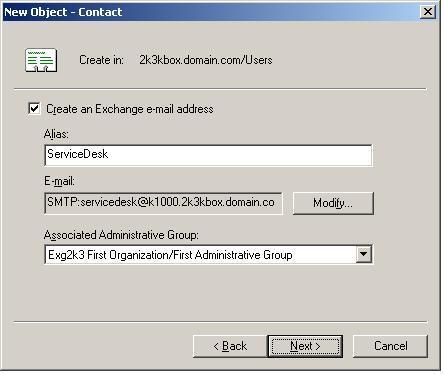
- This should return you to the New Object - Contact page showing the new email address. Click Next.
- On the final page, it will indicate the creation of the new contact. Click Finish.
- Next, add an alternate email address to the contact created. Right click on the contact and choose Properties.
- Click on the Email Addresses tab and click New.
- Choose SMTP Address. Enter the email address and click OK. Make sure the Help Desk Primary email address is still set as Primary.
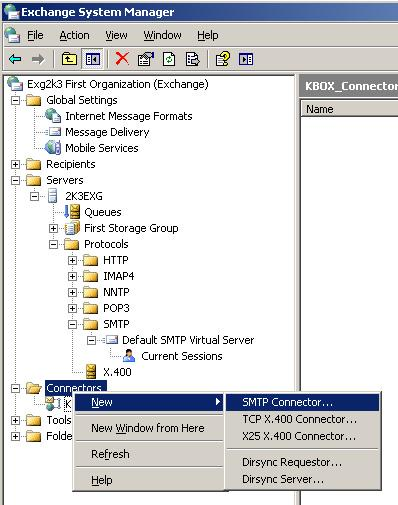
The next few steps will walk you through how to setup a new connector for the KBOX in the Exchange System Manager.
- Right click on Connectors and select New>SMTP Connector.
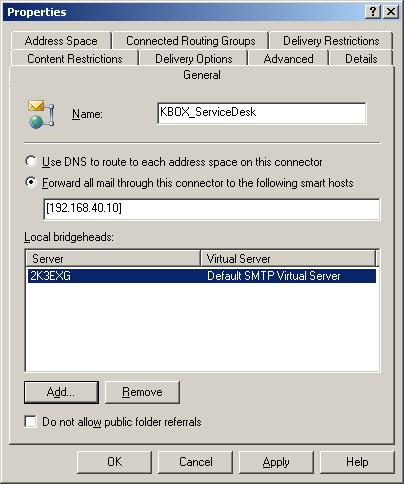
- On the Properties>General tab page, fill in the name of the connector.
- Select the Forward all mail through this connector for the following smart hosts and enter the IP address of the KBOX in the format [xxx.xxx.xxx.xxx] (brackets required). Select your local Exhcange server(s) as the Local bridgehead and leave the check box for Do not allow public folder referrals unchecked.
- Select the Address Space tab.
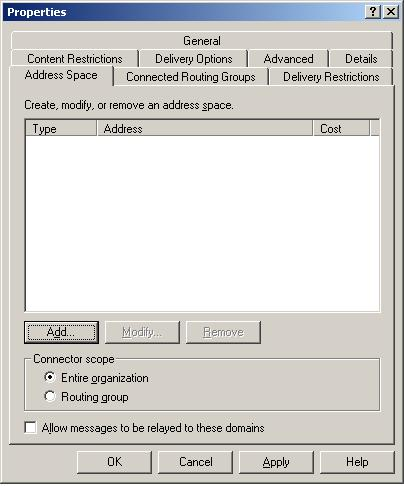
- Click the Add button to enter the address spaces that will use this connector.
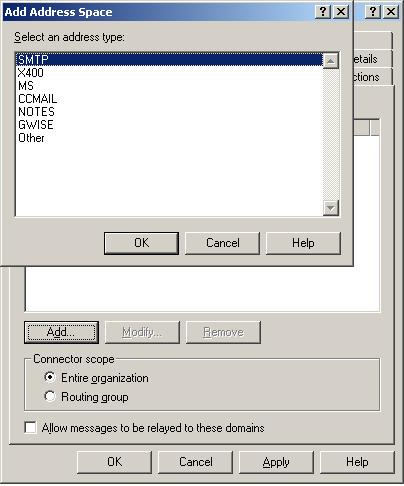
- On the Address Space window that launches, select SMTP and click OK.
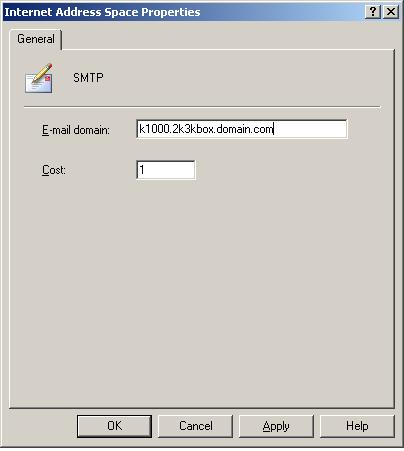
- On the Internet Address Space properties window, edit the E-mail Domain to be the domain of your KBOX email address suffix (i.e. kbox.yourdomain.com) and set the Cost to 1. Click OK.
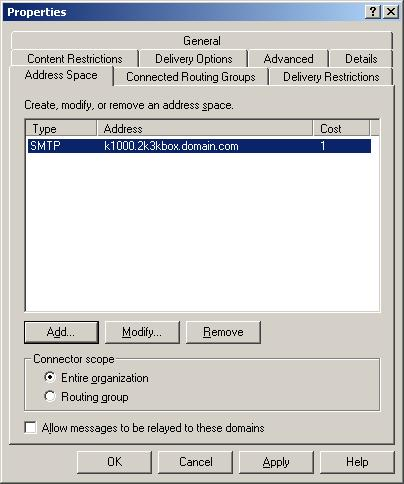
Note: If you have other SMTP connectors set up, you will want his one processed first. That way, these emails don't accidentally get sent to the internet causing NDRs. - This will return you to the properties window for the new connector and you will see that your SMTP settings have been added to the Address Space tab. Click OK and the connector will be up and functional.

Comments